Hey everyone! Welcome back to another Kiiroo blog. In today’s episode, I’m thrilled to introduce you to the PowerBlow. We’ve got a lot to cover, so sit back, relax, and don’t forget to hit that like and subscribe button. Let’s jump right in!
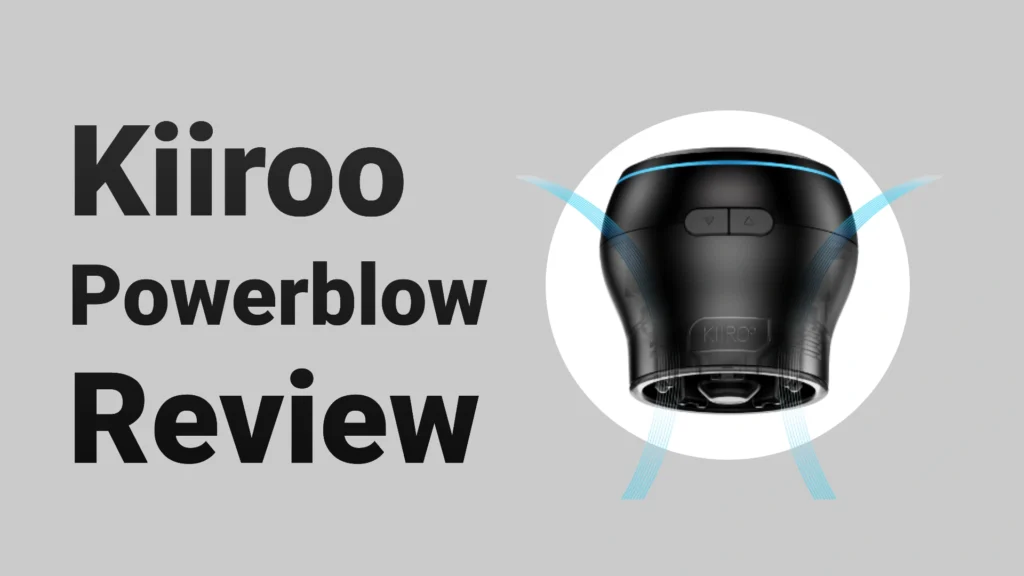
As always, I’m here to present the new addition to my collection: the PowerBlow from Kiiroo Toys. While it’s not entirely new, it’s a fresh addition for me, and there’s plenty to explore today.
Here’s what you can expect in today’s blog: I’ll start with an unboxing to show you what’s included with the Kiiroo PowerBlow. Then, I’ll guide you through connecting the PowerBlow to the Kiiroo FeelConnect app. Finally, I’ll demonstrate how to pair it with the Kiiroo Keon. So, let’s get started!
Let’s open the box and see what’s inside! As always, I want to highlight that the packaging is discreet. There’s no mention of Kiiroo on the outside of the shipping label.
Now that we’ve opened the box, on the right side, you’ll find the PowerBlow, and on the left, there’s the FeelPocket stroker.
If you haven’t checked out my blog about the Pocket stroker, you can find the link in the top right corner of your screen. You can purchase them together or separately, and if you already own a PowerBlow, it’s fully compatible with the new stroker.
Let’s set the Pocket stroker aside for now and dive into the PowerBlow.
Once I take off the plastic wrap, the first thing you’ll notice when you open the box is the Quick Start manual for your PowerBlow. Underneath it, you’ll find the PowerBlow and all its included attachments.
For detailed instructions on all Kiiroo products, simply scan the QR code in the manual. The Quick Start guide provides all the basic information you’ll need about the PowerBlow, but by the end of this video, you should be all set without it!
Removing the PowerBlow from the box, you’ll find a small sponge, which is actually an air filter. I’ll show you how to change it later. Under the divider, there’s a cup that fits inside the stroker, along with a USB-C charging cable to power up your device. Just remove the silicone cap on the side to access the charging port.
To charge your PowerBlow, plug in the USB-C cable beneath the silicone cap. Once it’s fully charged, simply unplug the cable and reseal it.
Next, I’ll show you how to attach the PowerBlow to a FeelStroker, like the Dainty Wilder. If you want to see my review of that stroker, there’s a link in the top right corner of the screen.
First, remove the cap and pull out the sleeve. There’s a removable lip around the edge of the stroker, which can be a bit tricky to take out. Take your time to avoid breaking it. Place the cup that came with the PowerBlow into your stroker, and then reattach the lip.
Now, fit the sleeve back into the stroker, ensuring it fits snugly in the groove all around.
Next, remove the screw cap from the other end of the stroker. Once that’s done, add your O-ring and screw in the PowerBlow. You’re now ready to go! For those with the Pocket stroker, just add the O-ring and the PowerBlow. There’s no need to pull the inner lip out.
Now, let’s talk about how to fit your FeelStar stroker into your Kiiroo Keon and attach the PowerBlow. Unscrew the PowerBlow from the stroker. Position your stroker upright with the lid side down, and place your Kiiroo Keon on top. Give the stroker a slight lift and twist to lock it into place.
Then, simply screw the PowerBlow back on. It’s important for you to know how to operate the PowerBlow, so let’s go over its functions.
To turn on your PowerBlow, hold down the power button at the top. This activates it and puts it into connectivity mode. Press the button again to switch to manual mode. You’ll recognize it’s in manual mode when the light remains white. Pushing the power button once more takes you to pattern mode, indicated by a pinkish-orange light, and pressing it again returns you to connectivity mode.
Let’s go into more detail about how each function works. While in manual mode, you’ll find an up and down button on the side of the PowerBlow. Pressing the up button creates suction by drawing in air, indicated by a red light. Pressing the down button releases the pressure, and the light will turn green.
For automatic control, switch to pattern mode, where there are ten power levels. Use the up button to increase the suction level, which will change the light’s colour as the intensity increases. Pressing the down button decreases the level. To turn off your PowerBlow, hold the power button for four seconds until the lights flash white and the device powers down.
Next, let’s connect the PowerBlow to the FeelConnect app. Make sure your device is on and in connect mode. Don’t forget to turn on Bluetooth and download the FeelConnect app. If you need help with that, there’s a blog linked in the top right corner.
Open the app, then click on the “Connect Device” button. You’ll see that the PowerBlow has been detected. Just click on the connect button. Once it’s successfully paired, the app will prompt you to test your device, which allows the PowerBlow to react.
Now, we need to set up the maximum suction level in the app. Click “Next” and you’ll see a screen showing the current maximum suction level, defaulting at 60%. You can adjust this by sliding the bar up or down. Once you’ve selected your desired level, click “Confirm.” Click “Next” again to reach the app’s home page, where you’ll notice the light on your PowerBlow has turned solid blue.
To control the PowerBlow, click the button in the bottom right that says “Control.” Here, you can select “Touch to Control,” but I won’t cover all the settings today. If you’d like to know more, you can find a blog about the FeelConnect app in the description below. Click the play button to start the PowerBlow, and you’ll see the light turn red as it sucks in air. When it’s releasing air, the light will turn green.
If you receive a warning saying you’ve hit the maximum suction power, it means you’re trying to exceed what you set earlier. To adjust this, return to the control screen by tapping the top left corner of your screen. Hold down the button to see a pop-up window showing connected devices. Click the small arrow next to the PowerBlow.
This will take you to another window displaying information about the device, including the maximum suction intensity.
Once you’ve adjusted your desired level, click “Confirm,” then “Next.” You can now return to control your PowerBlow without restrictions.
Next, let’s answer a common question: how to pair your Kiiroo Keon with the PowerBlow. Ensure your Bluetooth is on, and both devices are in connect mode. Open the FeelConnect app and tap the “Connect Device” button. You’ll see both devices detected. Start by connecting the Kiiroo Keon. Select “Connect” next to it.
After a few moments, it will confirm the connection. I trust it’s connected, so I’ll click back to proceed to the PowerBlow. Again, tap and hold in the top left corner to view connected devices.
Scroll down to the “Connect Device” button. You’ll see that the PowerBlow is detected; click “Connect.” Once connected, you can test your device as before, and proceed to set up the maximum suction level just like we did previously.
Once you set the suction level and choose to pair the PowerBlow with your Kiiroo Keon, a confirmation will appear indicating they are now successfully paired.
The last thing I want to cover in today’s blog is how to change the filter in your PowerBlow. Simply turn it upside down and twist the small round disc at the bottom counter clockwise to remove it. Set the disc aside for a moment and replace it with your spare filter. Once that’s done, twist the cap back on clockwise. Kiiroo sells replacement filters on their website if you need more.
If this blog has inspired you to purchase the Kiiroo PowerBlow, there’s an affiliate link in the description below. It won’t cost you anything extra, but it does provide me with a small percentage of their profits should you choose to buy.
If you have any questions, feel free to leave a comment below or find me on social media. All the links are in the description.
That wraps up today’s blog! If you enjoyed it, please hit like, subscribe, and turn on notifications for future updates.
Until next time!